How to create your first Showcase in 3D configurator Apviz SaaS Platform (Part 1)
Table of content
How to create your first Showcase in 3D configurator Apviz SaaS Platform
Your step-by-step guide to create your first showcase Part 1: Import 3D model
1. Showcase creation
In your Apviz account go to the Showcases section and create your showcase: Click on + Create showcase button and give it a name.

A Showcase: is a space where you can create your 3D configurator for your product. It will contain your 3D models imported by bricks and all the configurations you will define in the following steps.
2. 3D model preparation
Prepare your 3D model in your favorite CAD editor or 3D software. For this tutorial, we are using the free and open source software blender.org.
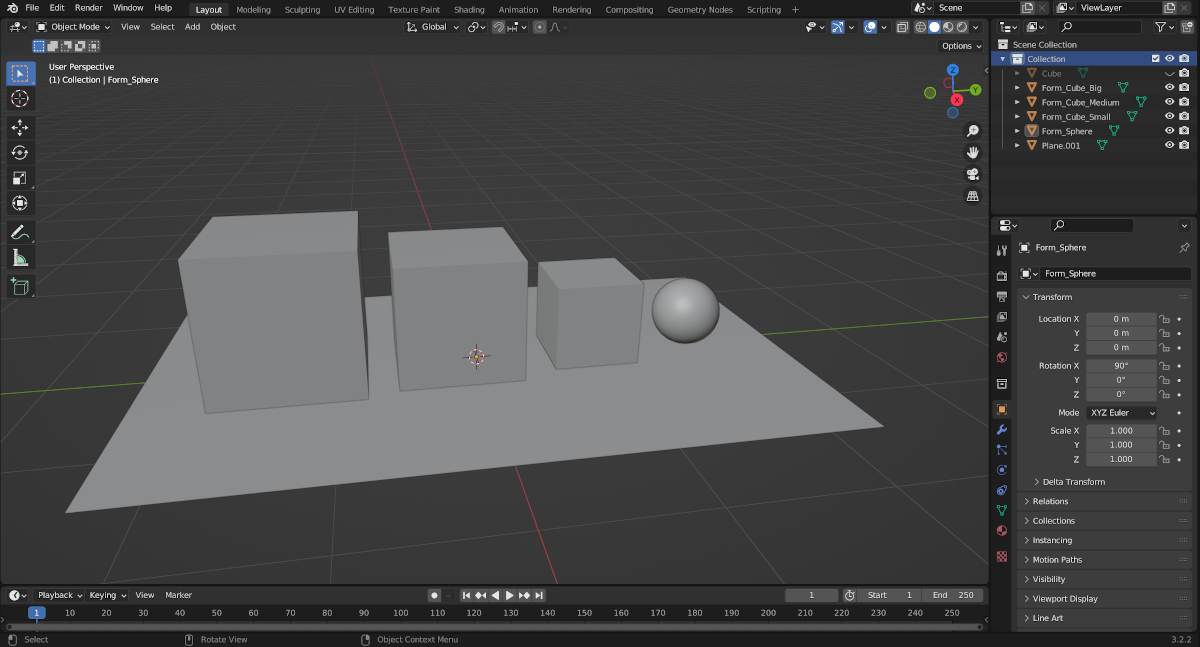
As an example, in Blender, create 3 cubes of different sizes as well as a sphere and a plane. Make sure UV projection is defined for all objects.
You can download the blender’s example file here
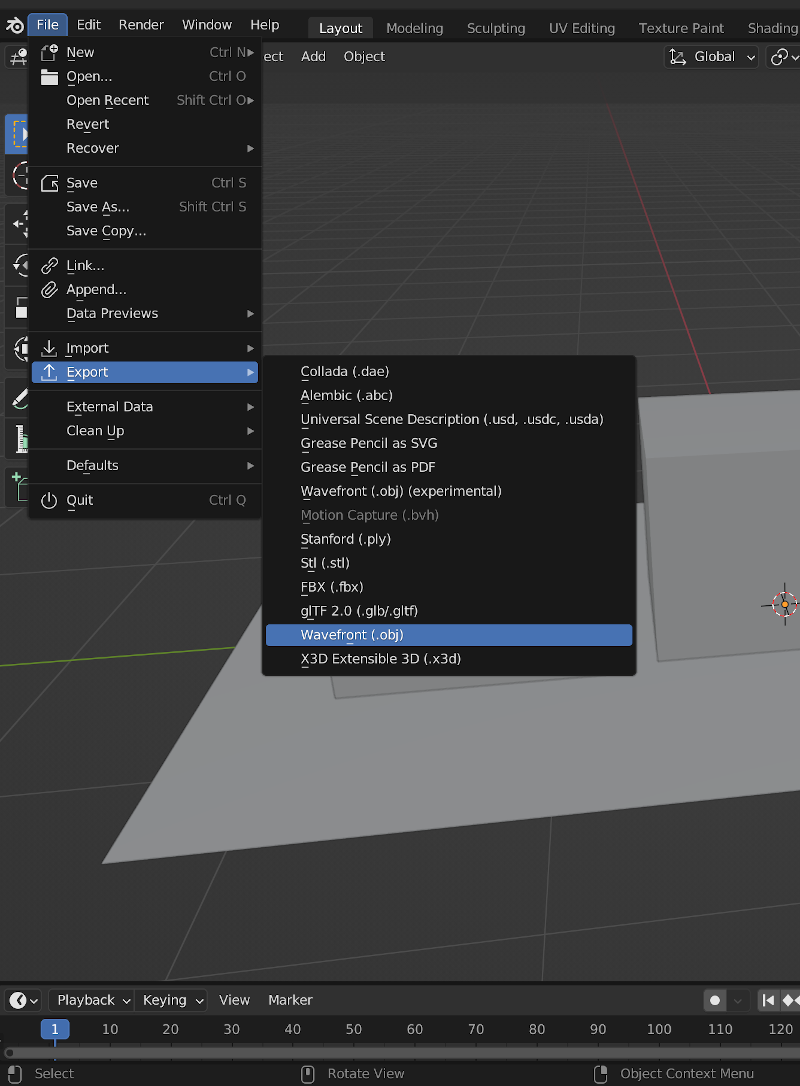
Select all these objects and export them in .obj file format.This file contains the 5 meshes in the same .obj.
3. Import 3D model in Apviz
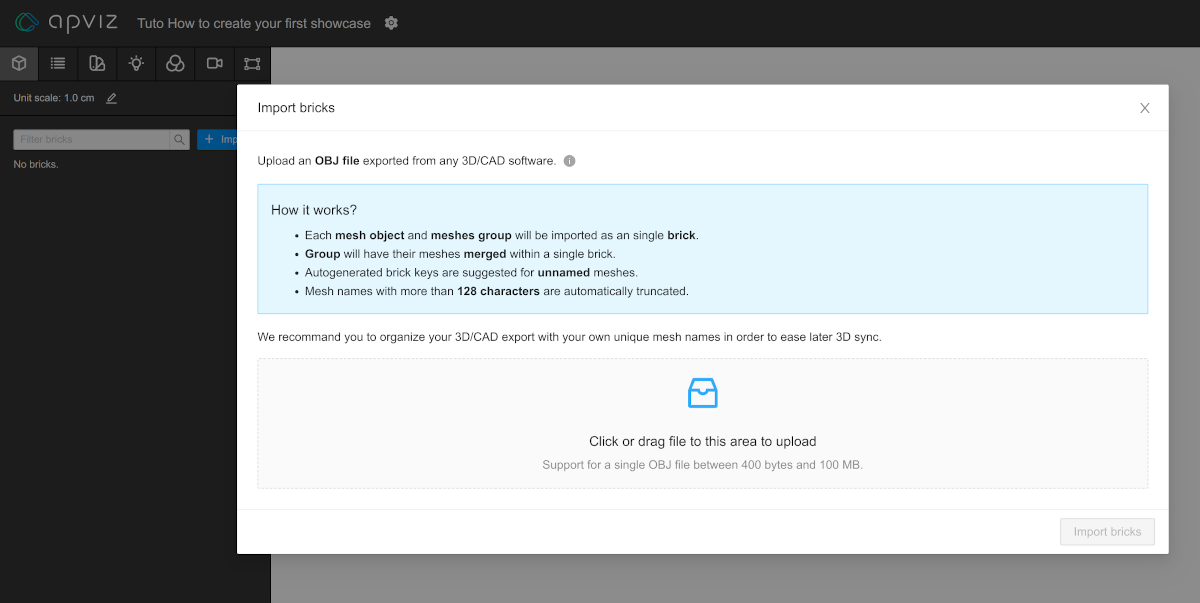
Back in Apviz interface go to menu “Brick” and import your .obj file.
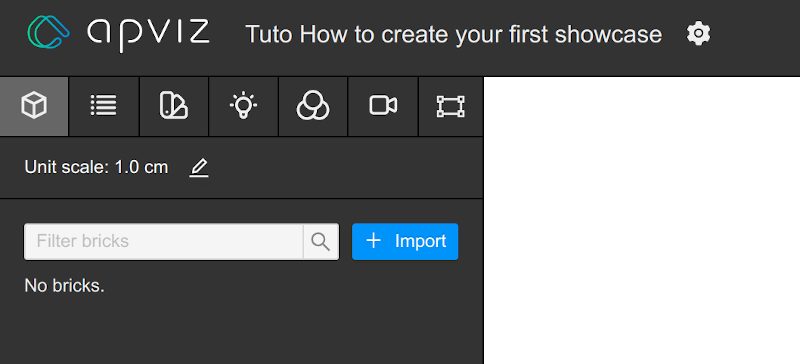
Drag and drop it into the dedicated importer menu:
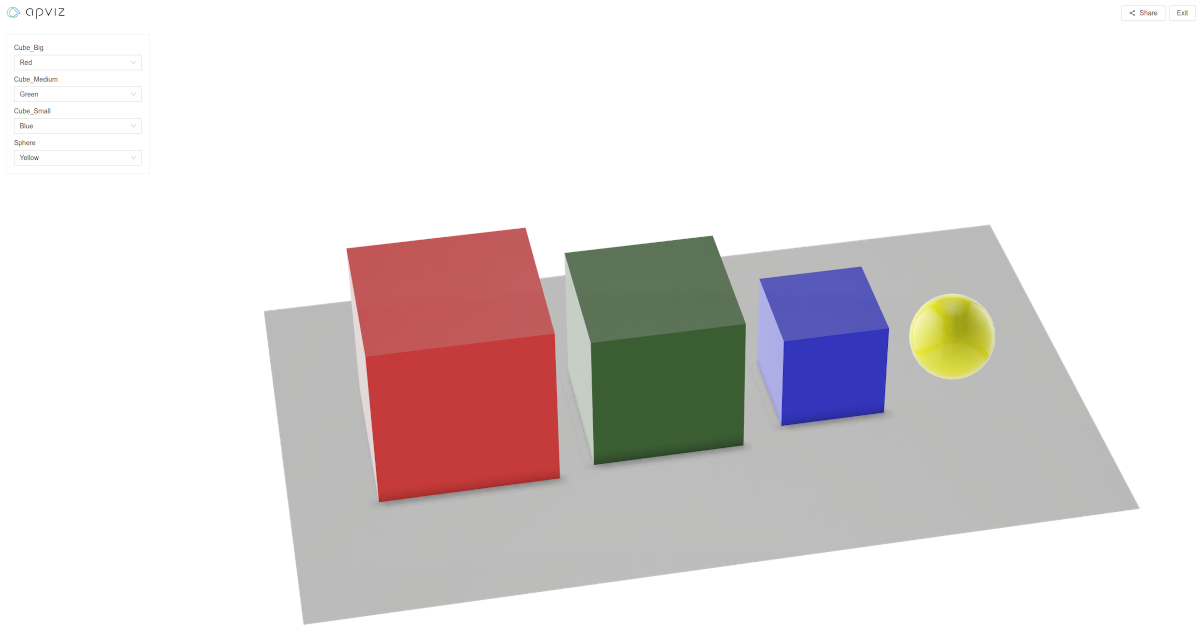
When it is downloaded, you can see the five objects that you've previously created in Blender.
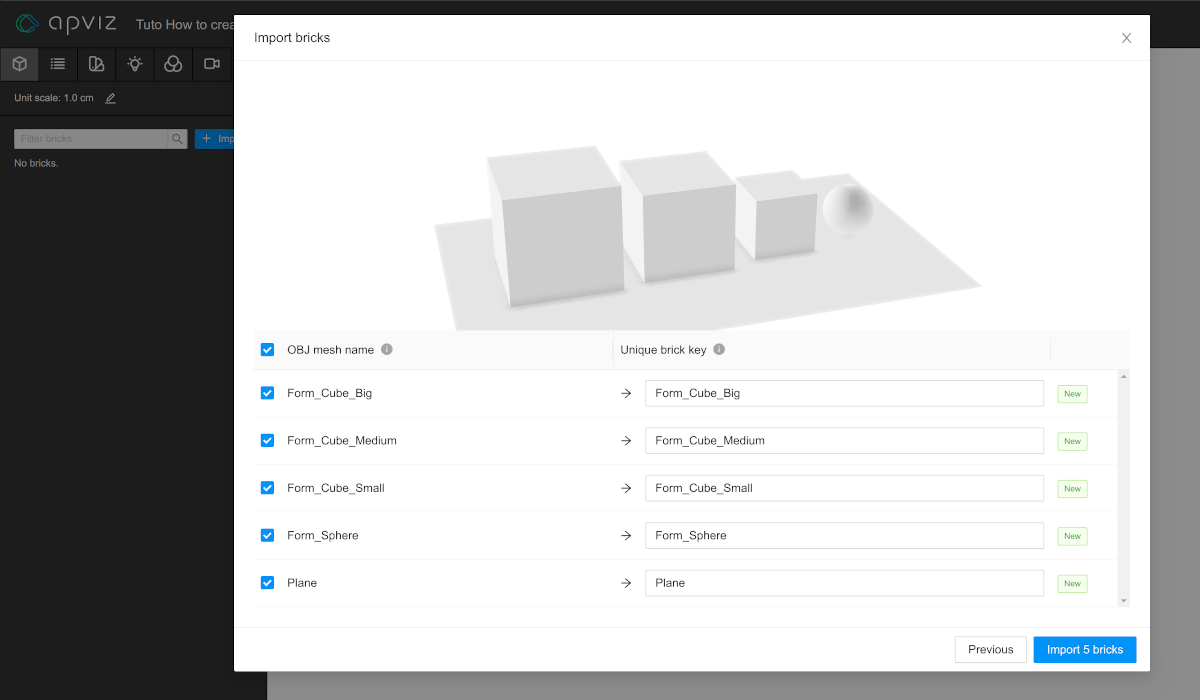
Congratulations! You have imported your first model and created your first showcase in Apviz.
In next topic we'll see how to set-up your 3D configurator showcase