New realtime text engraving and printing feature
Table of content
Realtime image printing personalization
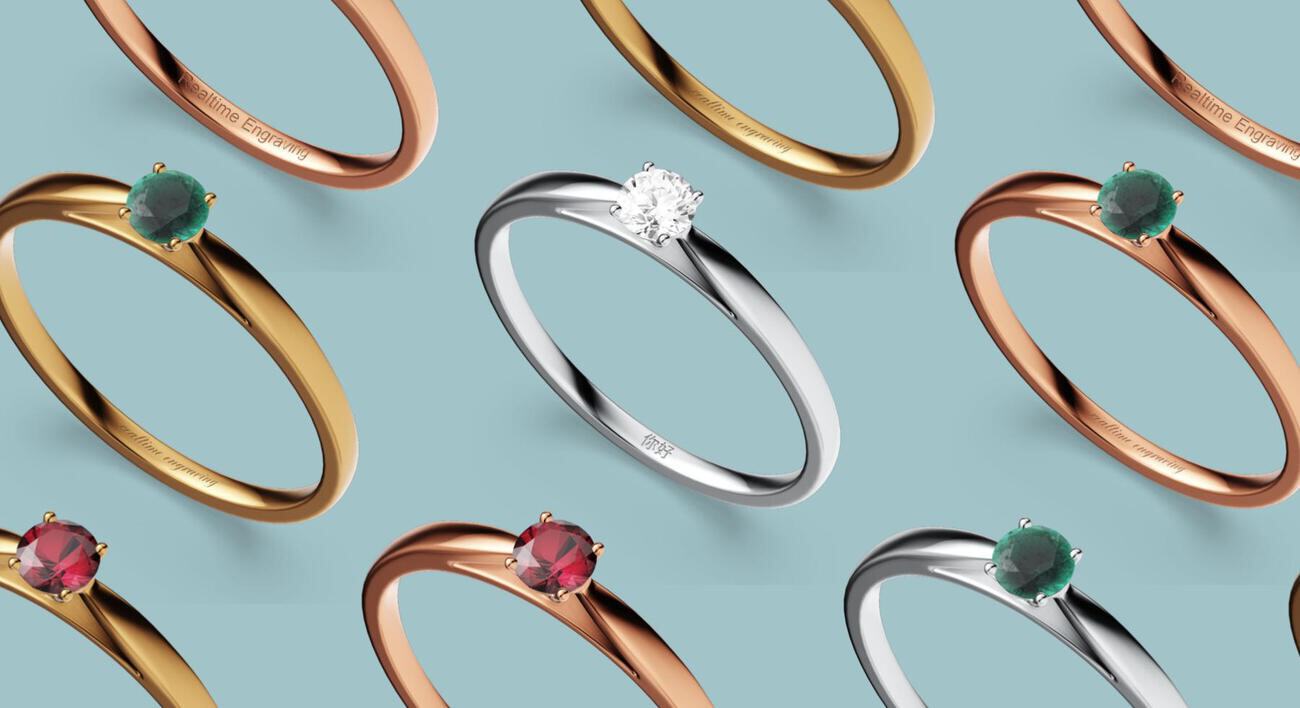
After marking image, we are happy to announce a new Apviz feature: Realtime text personalization for engraving, stamping, embossing, debossing with realistic engraving simulation etched into the surface.
This feature is useful if you have engraving, stamping, hot stamping or embossing available for your products whether it is for jewelry, watches, leather goods, shoes, etc.
Get in touch with your Apviz account manager or use the contact form if you are interrested with this feature.
Setup
First you need to define your marking zone in your 3D model by creating a new dedicated mesh in your favourite 3D software.
The marking zone mesh must cover the targeted mesh object you want to apply marking on with a slight gap (to avoid mesh overlapping). Make also sure to craft proper UV mapping.

Then you export your 3D model as OBJ file and import it to your showcase via 3D editor (or the GraphQL API):
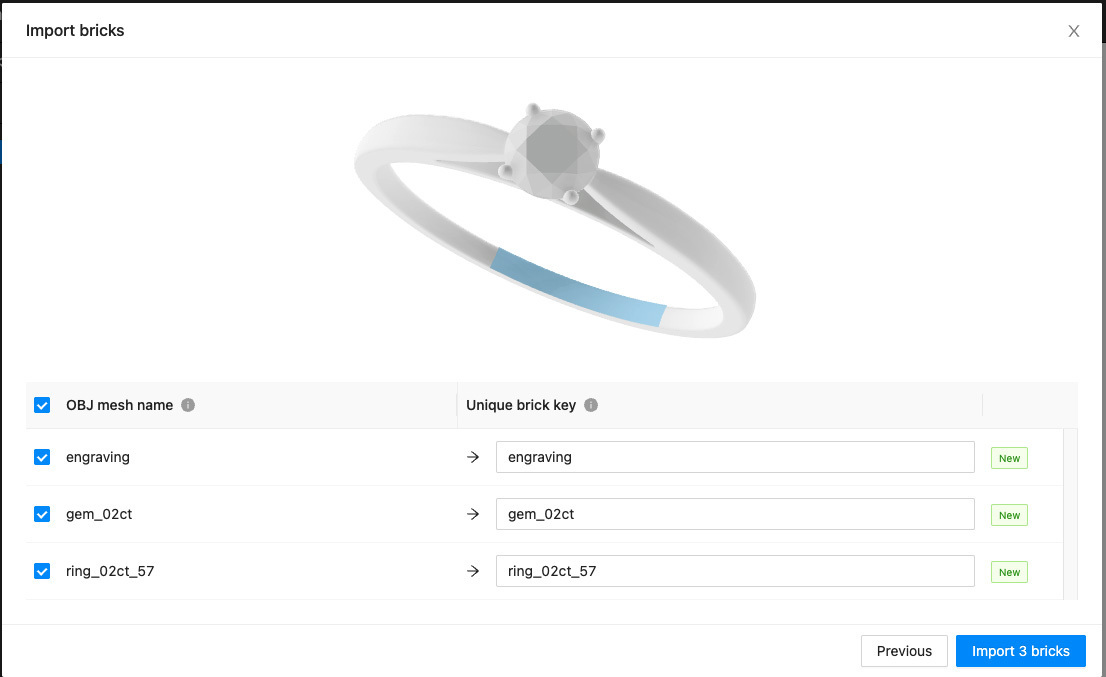
As usual, define material and field/value configuration rules:
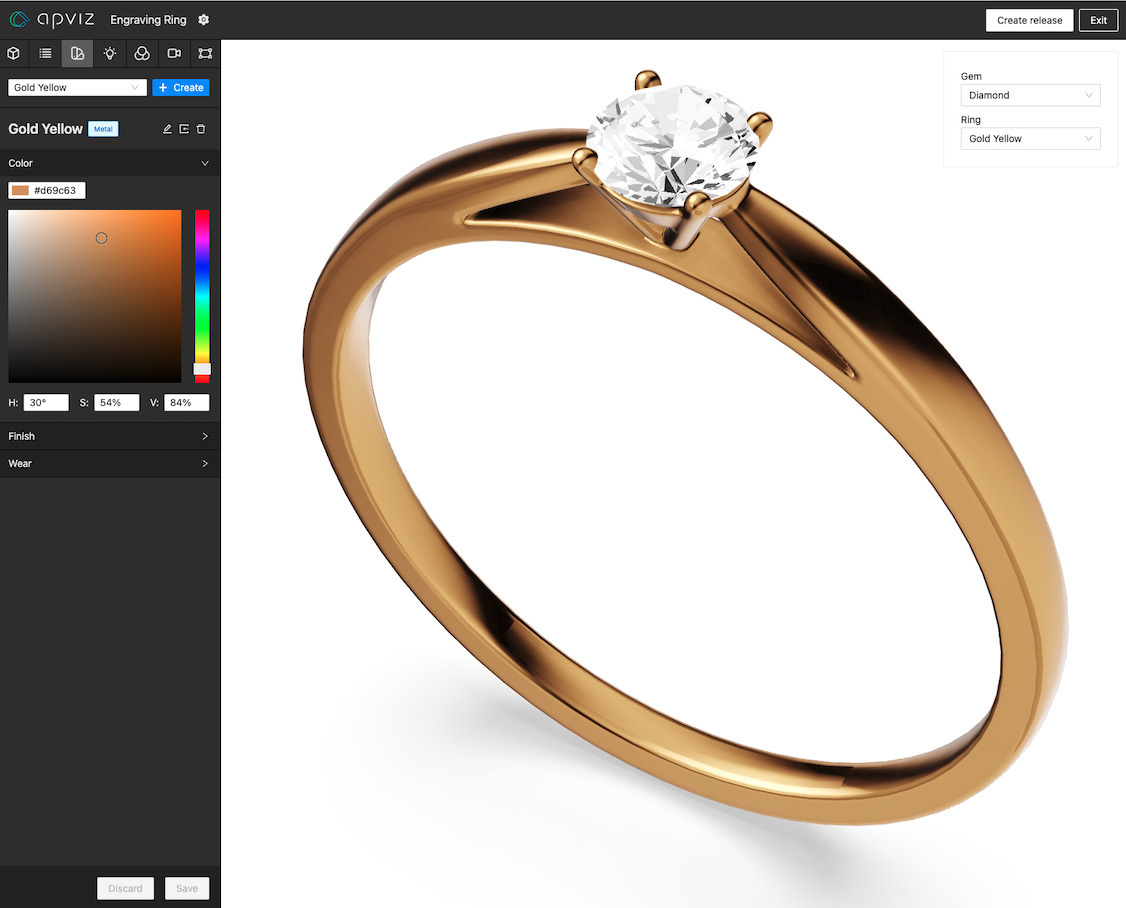
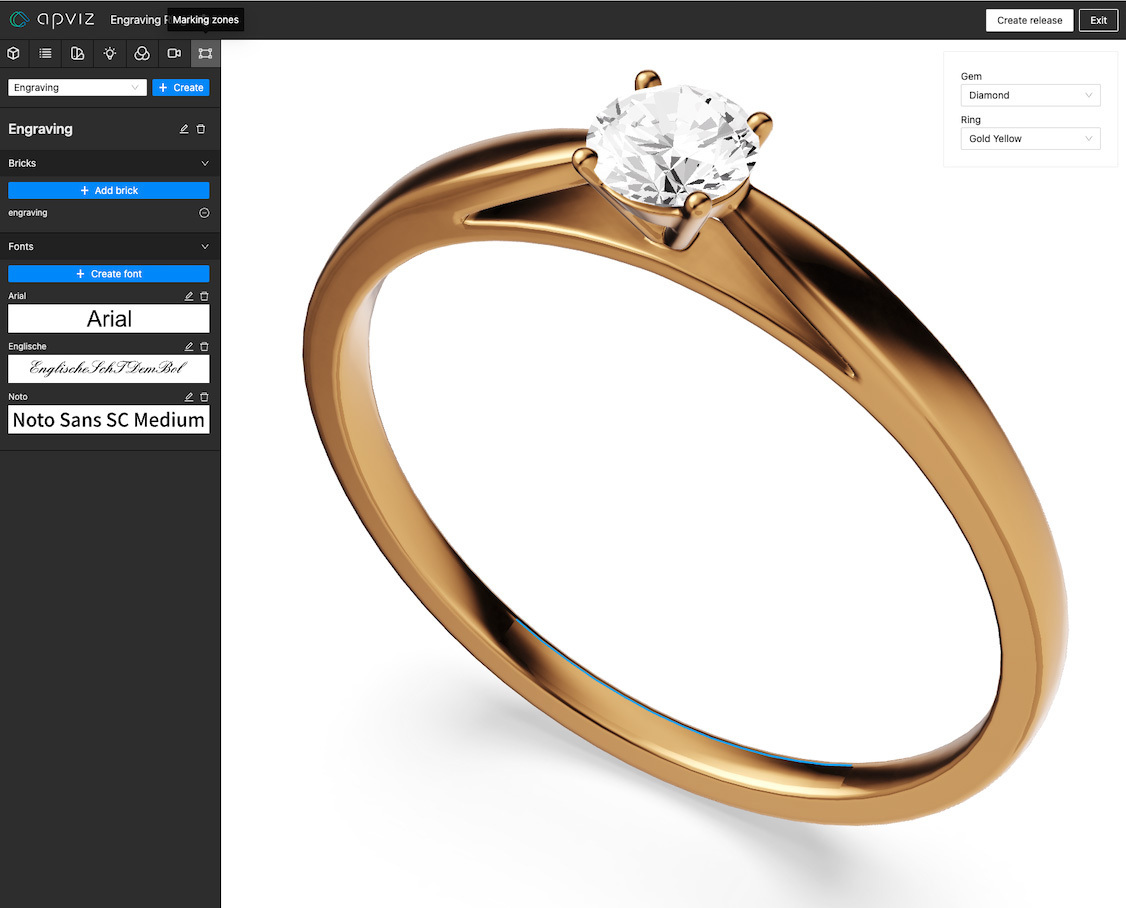
The final step is to create a marking zone with a unique key and some fonts (WOFF, OTF and TTF files are all accepted), then assign the marking zone to your brick.
ℹ️ Font resources are automatically segmented so that the browser only needs to download font subsets of unicode ranges that are actually used in the text. This is particularly relevant with large fonts (Japanese, Chinese, etc.) in order to save bandwidth.
You are now ready to craft a new release and integrate realtime image web-to-print personalization to your website.
Integration
You can dynamically display a text on a predefined marking zone using Viewer.update with the markingZones parameter.
The text you want to set must be nested within the markingZones parameter object using the marking zone key you want to target. If you need to update multiple zones at the same time, you can set multiple marking zone keys.
The text object allows passing extra formatting properties:
| Property | Description | ||||
|---|---|---|---|---|---|
text.value |
Single line text from 0 to 128 characters.
Note that new line \n and carriage return \r characters are not supported.
|
||||
text.fontkey |
Unique font key identifier as defined during showcase setup. | ||||
text.heightMode |
How text height is determined:
|
||||
text.horizontalAlignment |
"left", "center" or "right" horizontal alignment.
|
||||
text.verticalAlignment |
"top", "middle" or "bottom" vertical alignment.
|


You can also provide your marking zone key with a text.relief object to handle embossing and debossing (e.g. for engraving, stamping, flocking, etc.):
| Property | Description | ||||
|---|---|---|---|---|---|
text.relief.direction |
"up" (embossing) or "down" (debossing) direction.
|
||||
text.relief.depth |
Embossing/debossing depth in meters. Value must be greater than 0.
|
||||
text.relief.angle |
Slope value in degrees (bevel). Value must be between 1 and 90 inclusive.
|


<!doctype html>
<html>
  <head>
    <title>Apviz - Ring Engraving</title>
  </head>
  <style>
    * { margin: 0; padding: 0; box-sizing: border-box; }
    #my-text-input { position: absolute; top: 10px; left: 10px; }
  </style>
  <body>
    <!-- Apviz 3D viewer. -->
    <div id="apviz-3d-viewer"></div>

    <!-- Your text input. -->
    <input id="my-text-input" type="text">

    <!-- Your custom initialization script. -->
    <script>
      async function apvizShowcaseReady(showcase) {

        // Initialize a 3D viewer and bind it to the <div>.
        const viewer = await showcase.createViewer({
          divId : "apviz-3d-viewer"
        });

        // Initial configuration that MUST explicitly include ALL the fields.
        // This will start displaying 3D.
        await viewer.update({
          fields : {
            "Gem" : "Diamond",
            "Ring" : "Gold Pink"
          }
        });

        // Text input event handler.
        document.querySelector("#my-text-input").addEventListener("input", e => {
          viewer.update({
            markingZones : {
              // Targets a specific marking zone via it's key.
              "Engraving" : {
                text : {
                  value : e.target.value,
                  fontKey : "Arial",
                  heightMode : "characters", // or "font"
                  horizontalAlignment : "center", // "left" or "right"
                  verticalAlignment : "middle", // "top", or "bottom"
                  relief : {
                    direction : "down", // or "up"
                    depth : 0.000002, // In meters.
                    angle : 80 // Between 1° and 90°.
                  }
                }
              }
            }
          })
        });

      }
    </script>

    <!-- Non-blocking async script that will call "apvizShowcaseReady" once fully loaded. -->
    <script
      src="https://public.apviz.io/showcases/U0hPVzo1ajlKbGQxOFpN/releases/UkVMUzpOcUhuZXVnakFk/main.js"
      integrity="sha384-JWoXmaKe7ZxxavKj4+6JTVfboEgpJtNe7T4sq57Yjld5kQ5ItehZEeXnKodi2QtE"
      defer
      crossorigin="anonymous"
      data-apviz-callback="apvizShowcaseReady"
    ></script>
  </body>
</html>
The provided text is displayed with the following rules:
- Text takes as much height as possible.
- Text height decreases to fit in width.
- Texts is displayed using the material associated with the marking zone.

ℹ️ To remove the marking text, you can update the viewer with the marking zone key either set to null or with an empty text.value string.
Prototyping
If you need to get all configurable marking zones at runtime you can call the static getMarkingZones method:
async function apvizShowcaseReady(showcase) {
  // Returns an object with the following structure:
  // {
  //   markingZones : [
  //    { key: "Engraving", fonts: [{ key: "Arial" }, { key: "Englische" }, { key: "Noto" }] }
  //   ]
  // }
  const { markingZones } = await showcase.getMarkingZones();
}
ℹ️ This method is intended to ease debugging or fast prototyping. Keep in mind that Apviz is not designed to handle human readable UI menu items.
Packshot
Marking text is compatible with the packshot feature and let you create batch images from an advanced scenario:
What's next?
We are actually working on some features that will arrive quite soon:
- Rendering performances optimizations
- Smart camera improvements
Stay tuned to the changelog ;)
By Yves Merlicco - Tue Jun 28 2022